NaviEdit software is part of the Navisuite and provides the users with the solutions for processing of the data together with NaviModel. NaviEdit can import any existing sound velocity profile linked with the files to be imported or import a separate profile afterwards. The way it is applied to the data is handled in the Header Editor. Both workflows are explained below in the guide.
NaviEdit supports various types of mbes data to be imported and processed. The full list is available in this article: Import options NaviEdit
If the files to be imported are already containing a sound velocity profile NaviEdit will automatically import it and link it (only for sbd format, if kmall the user is given the choice to import and link it or not, if other formats does not have an option for this). Then in the Header editor, Sound Velocity Profile tab, the options for the way the sound velocity profile should be applied can be chosen by the user.
For those files that the user must manually import the sound velocity profile or profiles the ASCII importer must be used. In the NaviEdit Job planner - Import select ASCII files.
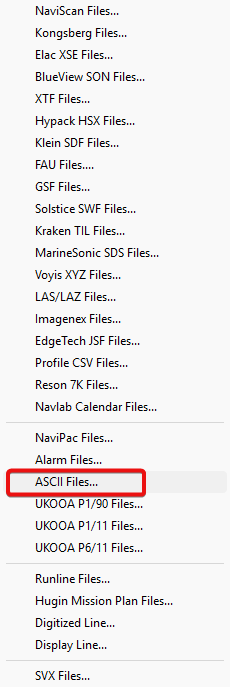
Fig.1 Import - ASCII files
ASCII importer window is opening and the files can be added by pressing the Add button or by simply drag and drop the files in the white section.
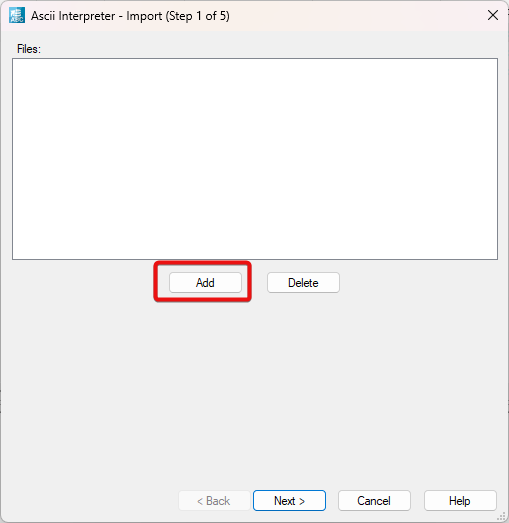
Fig.2 ASCII Interpreter Step 1
The file or files chosen will the shown and Next button must be pressed.
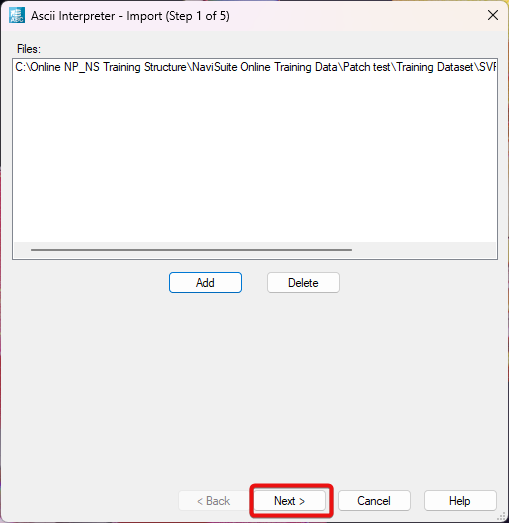
Fig.3 ASCII Interpreter Step 1 - file selected
In the second step, the user must select the Data type to import - SVP and choose the correct template (if already existing or create a new one and select it). In this step, creation and editing of a new template is possible together with the preview of a section of sound velocity profile interpreted as defined in the template. Details about how to create the templates can be found in the article: NaviEdit Ascii importer header template . The profile can also be simplified/reduced by ticking the option Reduce profile to max 1 in.... and you specify the value.
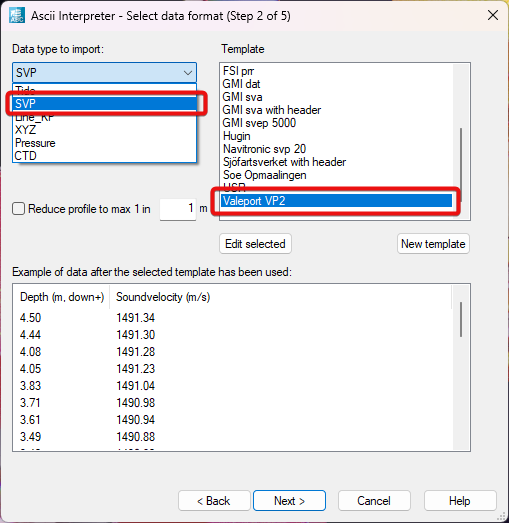
Fig.4 ASCII Interpreter Step 2 - selecting data type and template
In the third step the user can specify the geodesy to be used for the coordinates of the point where the sound velocity profile was taken.
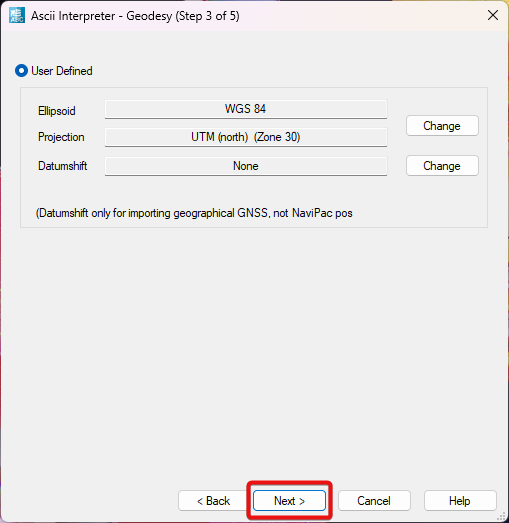
Fig.5 ASCII Interpreter Step 3 - geodesy selection
In the fourth step , the position, date and time for when the sound velocity profile was taken must be defined.
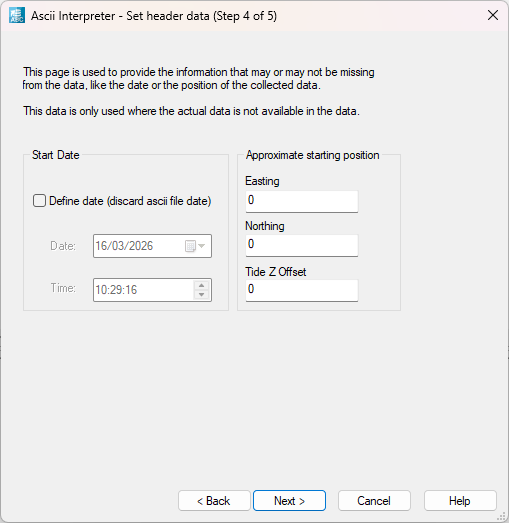
Fig.6 ASCII Interpreter Step 4 - setting the date, time and approximate position
In the step 5 the user can define notes if any exist so any data processor can see them. After filling the notes section or not press Finish. Another view will appear on the screen to let the user select the location for the file/files to import. It can be a separate folder or in the same folder with the mbes data.
The report will be shown if selected, if not, it can be opened afterwards in the database.
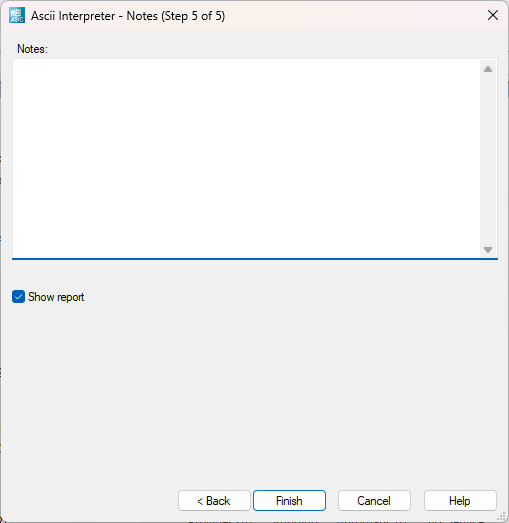
Fig.7 ASCII Interpreter Step 5 - Notes
Now the sound velocity profile or profiles are in the database and the user can do a quality check and assessment of each file by evaluating them with the Data Editor and Header Editor. In both, the values can be inspected and corrected if necessary.
Once the file\files passed the checks, the user can start assigning it to the mbes data and define the policy and usage of them (only if more then one files are added, if just one the options have no effect). To do so the individual file or the folder containing mbes data can be selected and right click select Header Editor or press the Header Editor icon from the bar.
Header Editor will open and Sound Velocity Profile tab must be selected. In the selected profiles individual file can be selected or an entire folder containing them can be selected as well. For all the profiles the options Select policy (by time, distance -line of sight or kp) and Usage (nearest profile or interpolate) must be defined to be applied on the data (only if more than one svp file is selected).
In time-based selection mode, NaviEdit matches a profile with the data by absolute time. Distance based selection lets NaviEdit choose from a position-based criterion. Use nearest profile usage tells NaviEdit to use the nearest profile based on the selection above, whereas the Interpolate usage tells NaviEdit to create a merged profile based on the input profiles and the selection method. This might potentially yield smoother results. The distance option affects how often a new profile is generated. Distance can be given in seconds as well as in meters, depending on the Selection policy.
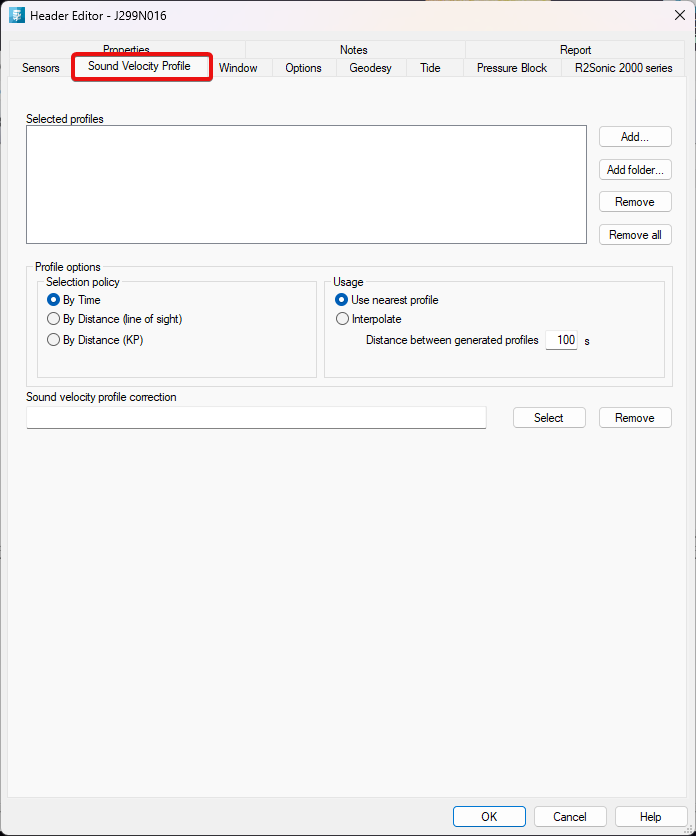
Fig.8 Header Editor/Sound Velocity Profile path
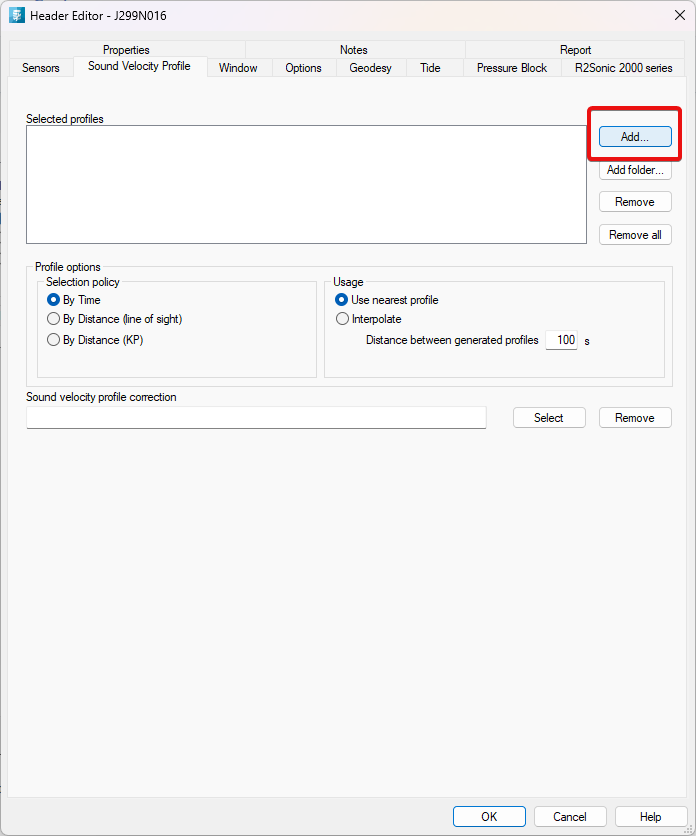
Fig. 9 Add a file
After the file was loaded, press OK
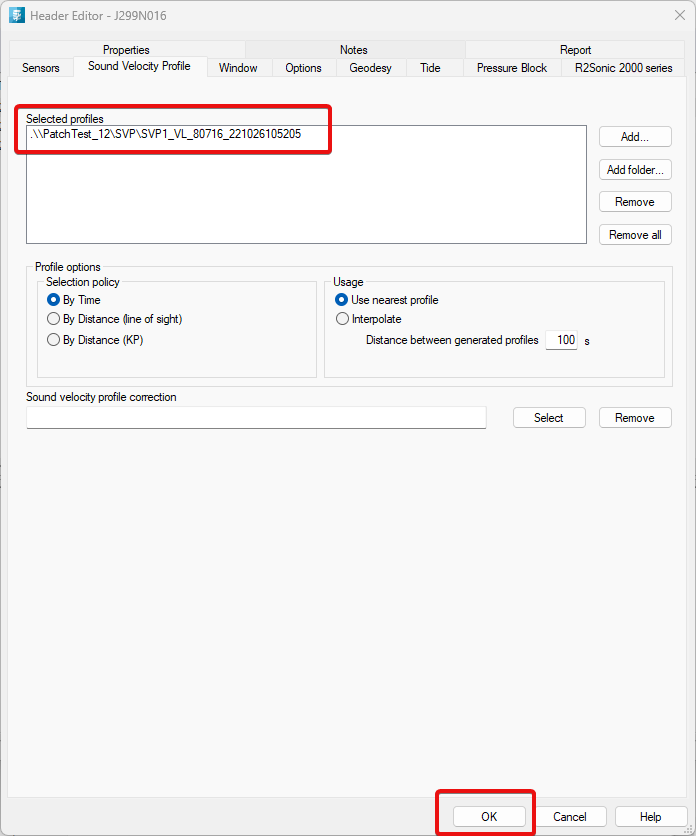
Fig.10 File loaded
In NaviEdit Job planner, press "Refresh". An "L" is displayed, under the SVP column for each file that has an svp assigned, meaning that the SVP is loaded.
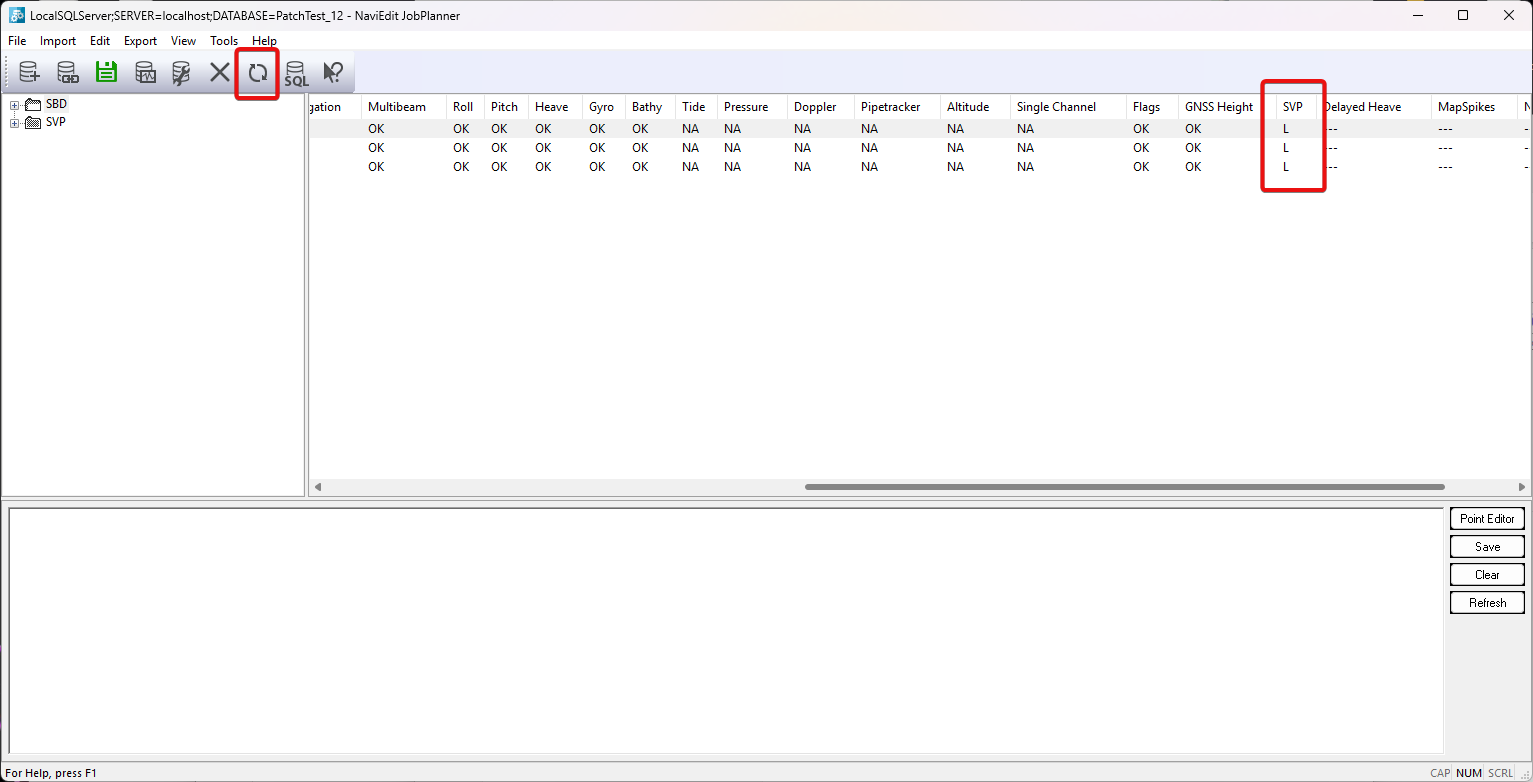
Fig.11 File loaded and applied
Now the multibeam data is corrected for the sound refraction in the water column at the given time when the measurements were performed during the hydrographic survey.